Quickstart
#Introduction
Let's see how to integrate with Flexpa by starting from a Quickstart app.
You'll need API keys, which you can access from the Developer Portal.
To integrate with Flexpa, you will use two different API keys.
Flexpa operates in two distinct modes.
Quickstart works in both, but we'll start in Test mode.
#API Keys
A client-side key that is okay to share
A server-side key that you must keep private
#Modes
Test credentials and sythentic data
Launch your integration with real patient data
#Quickstart setup
Let's start by cloning the Quickstart repository from Github.
The repository includes a .env.example file. You will copy this template file and use it as a starting point for your own .env file.
Clone and copy template
# Clone the repository
git clone https://github.com/flexpa/quickstart.git
cd quickstart

# Copy the environment variables template
cp .env.example .env
#Environment variables
Open .env in a text editor.
Add your Publishable and Secret keys for Test mode from the Developer Portal to the .env file in the NEXT_PUBLIC_FLEXPA_PUBLISHABLE_KEY and FLEXPA_SECRET_KEY variables.
You'll also need to generate a random secret. Quickstart uses this random secret to sign a session cookie.
Your own app will have its own authentication.
Add the random secret to the .env file in the SESSION_SECRET variable.
Update the .env file
# Open the .env file in a text editor and fill in your Flexpa API keys
NEXT_PUBLIC_FLEXPA_PUBLISHABLE_KEY=
FLEXPA_SECRET_KEY=
Generate a random session key
# Generate a random secret key and add it to the .env file
echo "SESSION_SECRET=$(openssl rand -base64 32)" >> .env
#Running
The Flexpa Quickstart is a Node.js app built with Next.js.
To get it started, install dependencies with npm install and start the app with npm run dev.
The application will be running at http://localhost:3000.

Install dependencies
# Install dependencies
npm install

# Start the development server
npm run dev

# Go to http://localhost:3000
#Your first consent
The Flexpa integration begins with a Patient Authorization, which is a Flexpa term for a consent to share claims records.
Each Patient Authorization is associated with an individual person, an application, and a health plan login.
A single person can consent to share their data with multiple applications, and a single application can connect to multiple health plans.
Now that you have Quickstart running, you'll create your first consent in the Test environment.
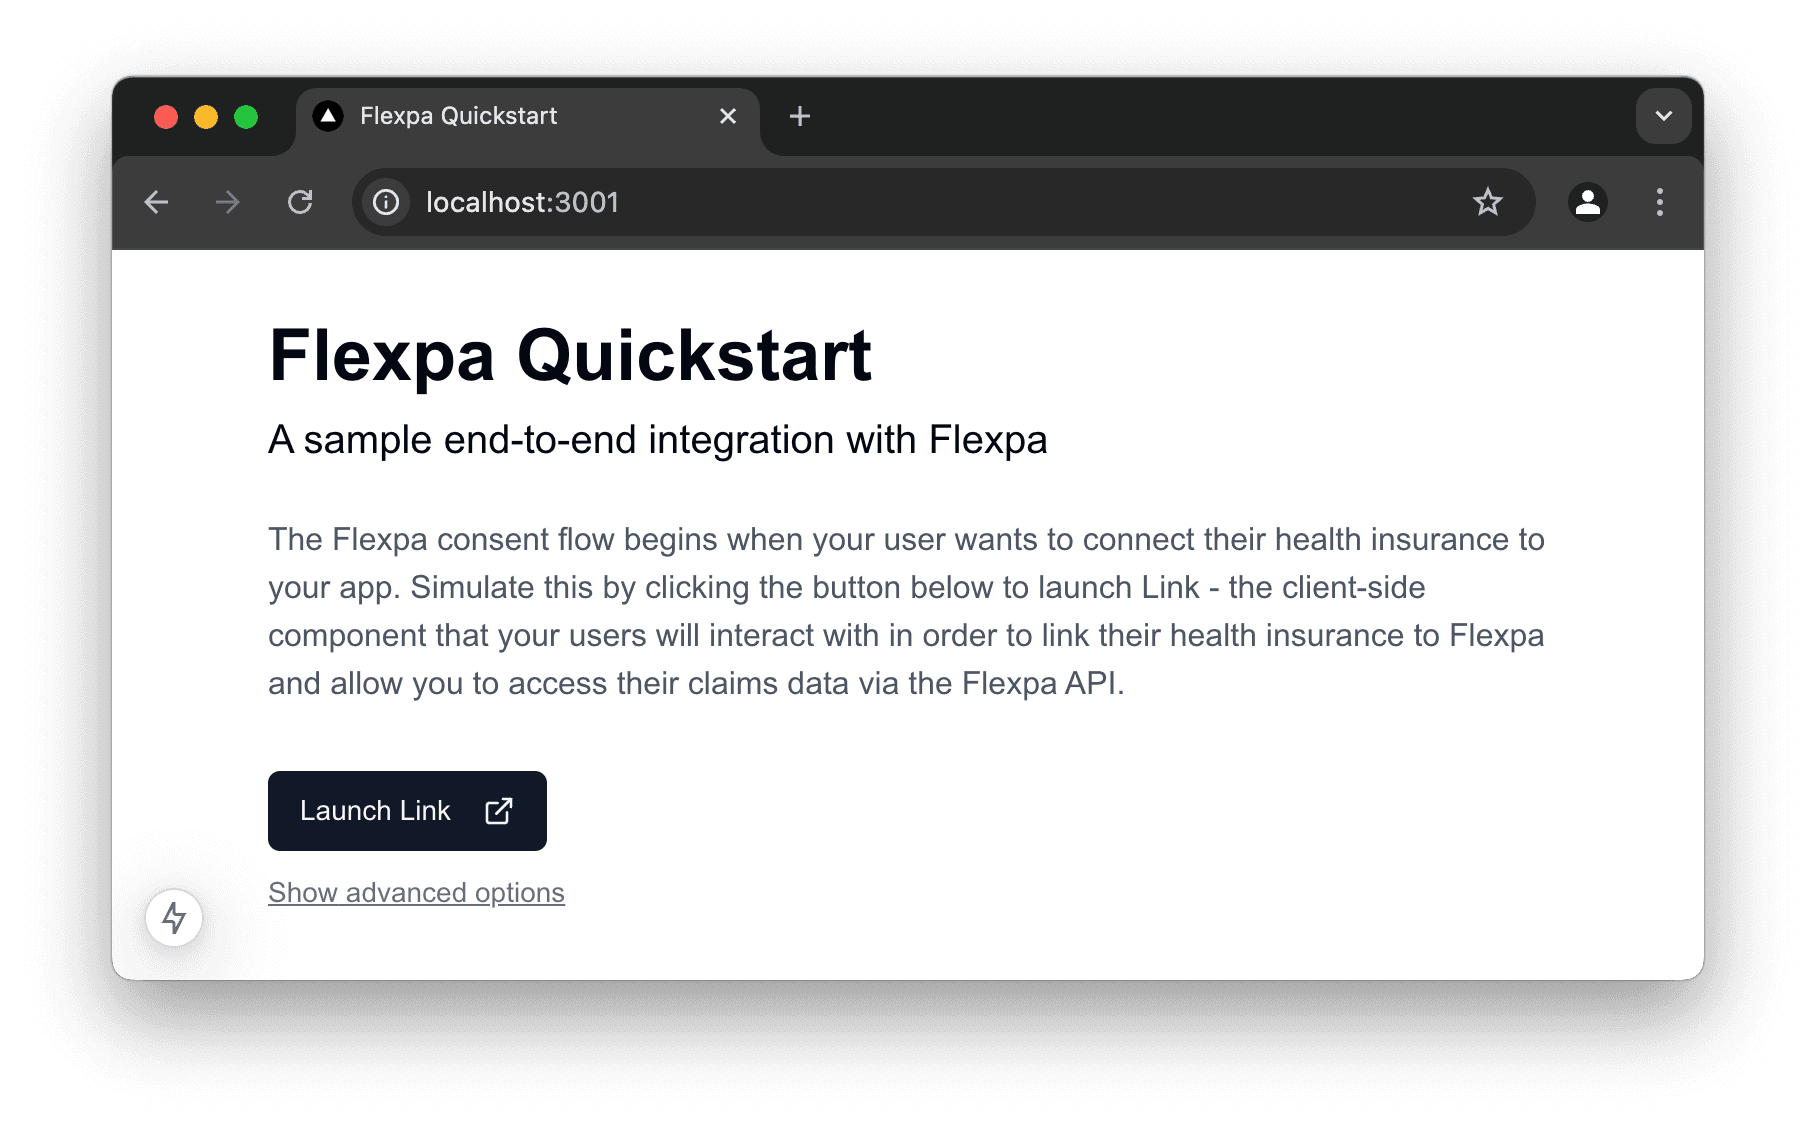
Once you've opened Quickstart on http://localhost:3000, click the Launch Link button and select Humana.
Use the Test mode credentials to simulate a successful login.
Test credentials
# Username
HUser00001

# Password
PW00001!
Once you have entered the credentials and moved to the success screen, you have created your first Patient Authorization!
You can now make API calls by using the buttons in Quickstart.
In the next section, we'll explain what actually happened and how Quickstart works.
#How it works
Quickstart demonstrates three main integration points:
- Flexpa Link - The frontend browser SDK you will use to start the consent flow
- Token Exchange - A backend API route that you will use to complete the consent flow
- FHIR API - The backend API you will use to query for health records
The flow looks like this:
The first step is to initialize Flexpa Link.
Link is a drop-in client-side module available for web applications that handles the consent flow.
Quickstart shows you how you can trigger the consent flow from your own client-side code.
#Consent flow
The Quickstart uses Flexpa's optional npm package, but you can also install it with a script tag.
src/app/page.tsx
'use client'

import FlexpaLink from '@flexpa/link'
import { ExternalLink } from 'lucide-react'
import { useRouter } from 'next/navigation'
import { Button } from "@/components/ui/button"

export function LaunchLink() {
  const router = useRouter();

  function open() {
    FlexpaLink.create({
      publishableKey: process.env.NEXT_PUBLIC_FLEXPA_PUBLISHABLE_KEY!,
      user: { externalId: crypto.randomUUID() },
      usage: 'ONE_TIME',
      onSuccess: async (publicToken: string) => {
        await fetch('/api/exchange', { method: 'POST', body: JSON.stringify({ publicToken }) })
        router.push('/dashboard');
      }
    })

    FlexpaLink.open();
  }

  return (
    <Button onClick={() => open()}>
      Launch Link <ExternalLink className="ml-2 h-4 w-4" />
    </Button>
  )
}
After a patient completes their consent, Link provides you with a public_token via the onSuccess callback.
The part of the code repeated below shows how the Quickstart passes the public_token from client-side code to the server.
src/app/page.tsx
FlexpaLink.create({
  publishableKey: process.env.NEXT_PUBLIC_FLEXPA_PUBLISHABLE_KEY!,
  user: { externalId: crypto.randomUUID() },
  onSuccess: async (publicToken: string) => {
    await fetch('/api/exchange', { method: 'POST', body: JSON.stringify({ publicToken }) })
    router.push('/dashboard');
  }
})
Next, on the server side, the Quickstart calls /link/exchange to obtain an access_token, as illustrated in the code excerpt below.
The Quickstart does this using the Node SDK package (@flexpa/node-sdk), but you can make it with any HTTP client.
The access_token uniquely identifies a Patient Authorization and is used to query records belonging to that consent.
In your own code, you'll need to securely store your access_token in order to make API requests.
src/app/api/exchange.ts
import { NextResponse } from 'next/server'
import FlexpaClient from '@flexpa/node-sdk'
import { createSession } from '@/app/lib/session';

export async function POST(request: Request) {
  try {
    const body = await request.json()
    const { publicToken } = body;

    const client = await FlexpaClient.fromExchange(publicToken, process.env.FLEXPA_SECRET_KEY!);
    const accessToken = client.getAccessToken();
    await createSession(accessToken);

    return NextResponse.json({});
  } catch {
    return NextResponse.json(
      { error: 'Failed to process request' },
      { status: 400 }
    )
  }
}
#Retrieving records
Now that we've gone over the Link flow and token exchange process, we can explore what happens when you press a button in the Quickstart to make an API call.
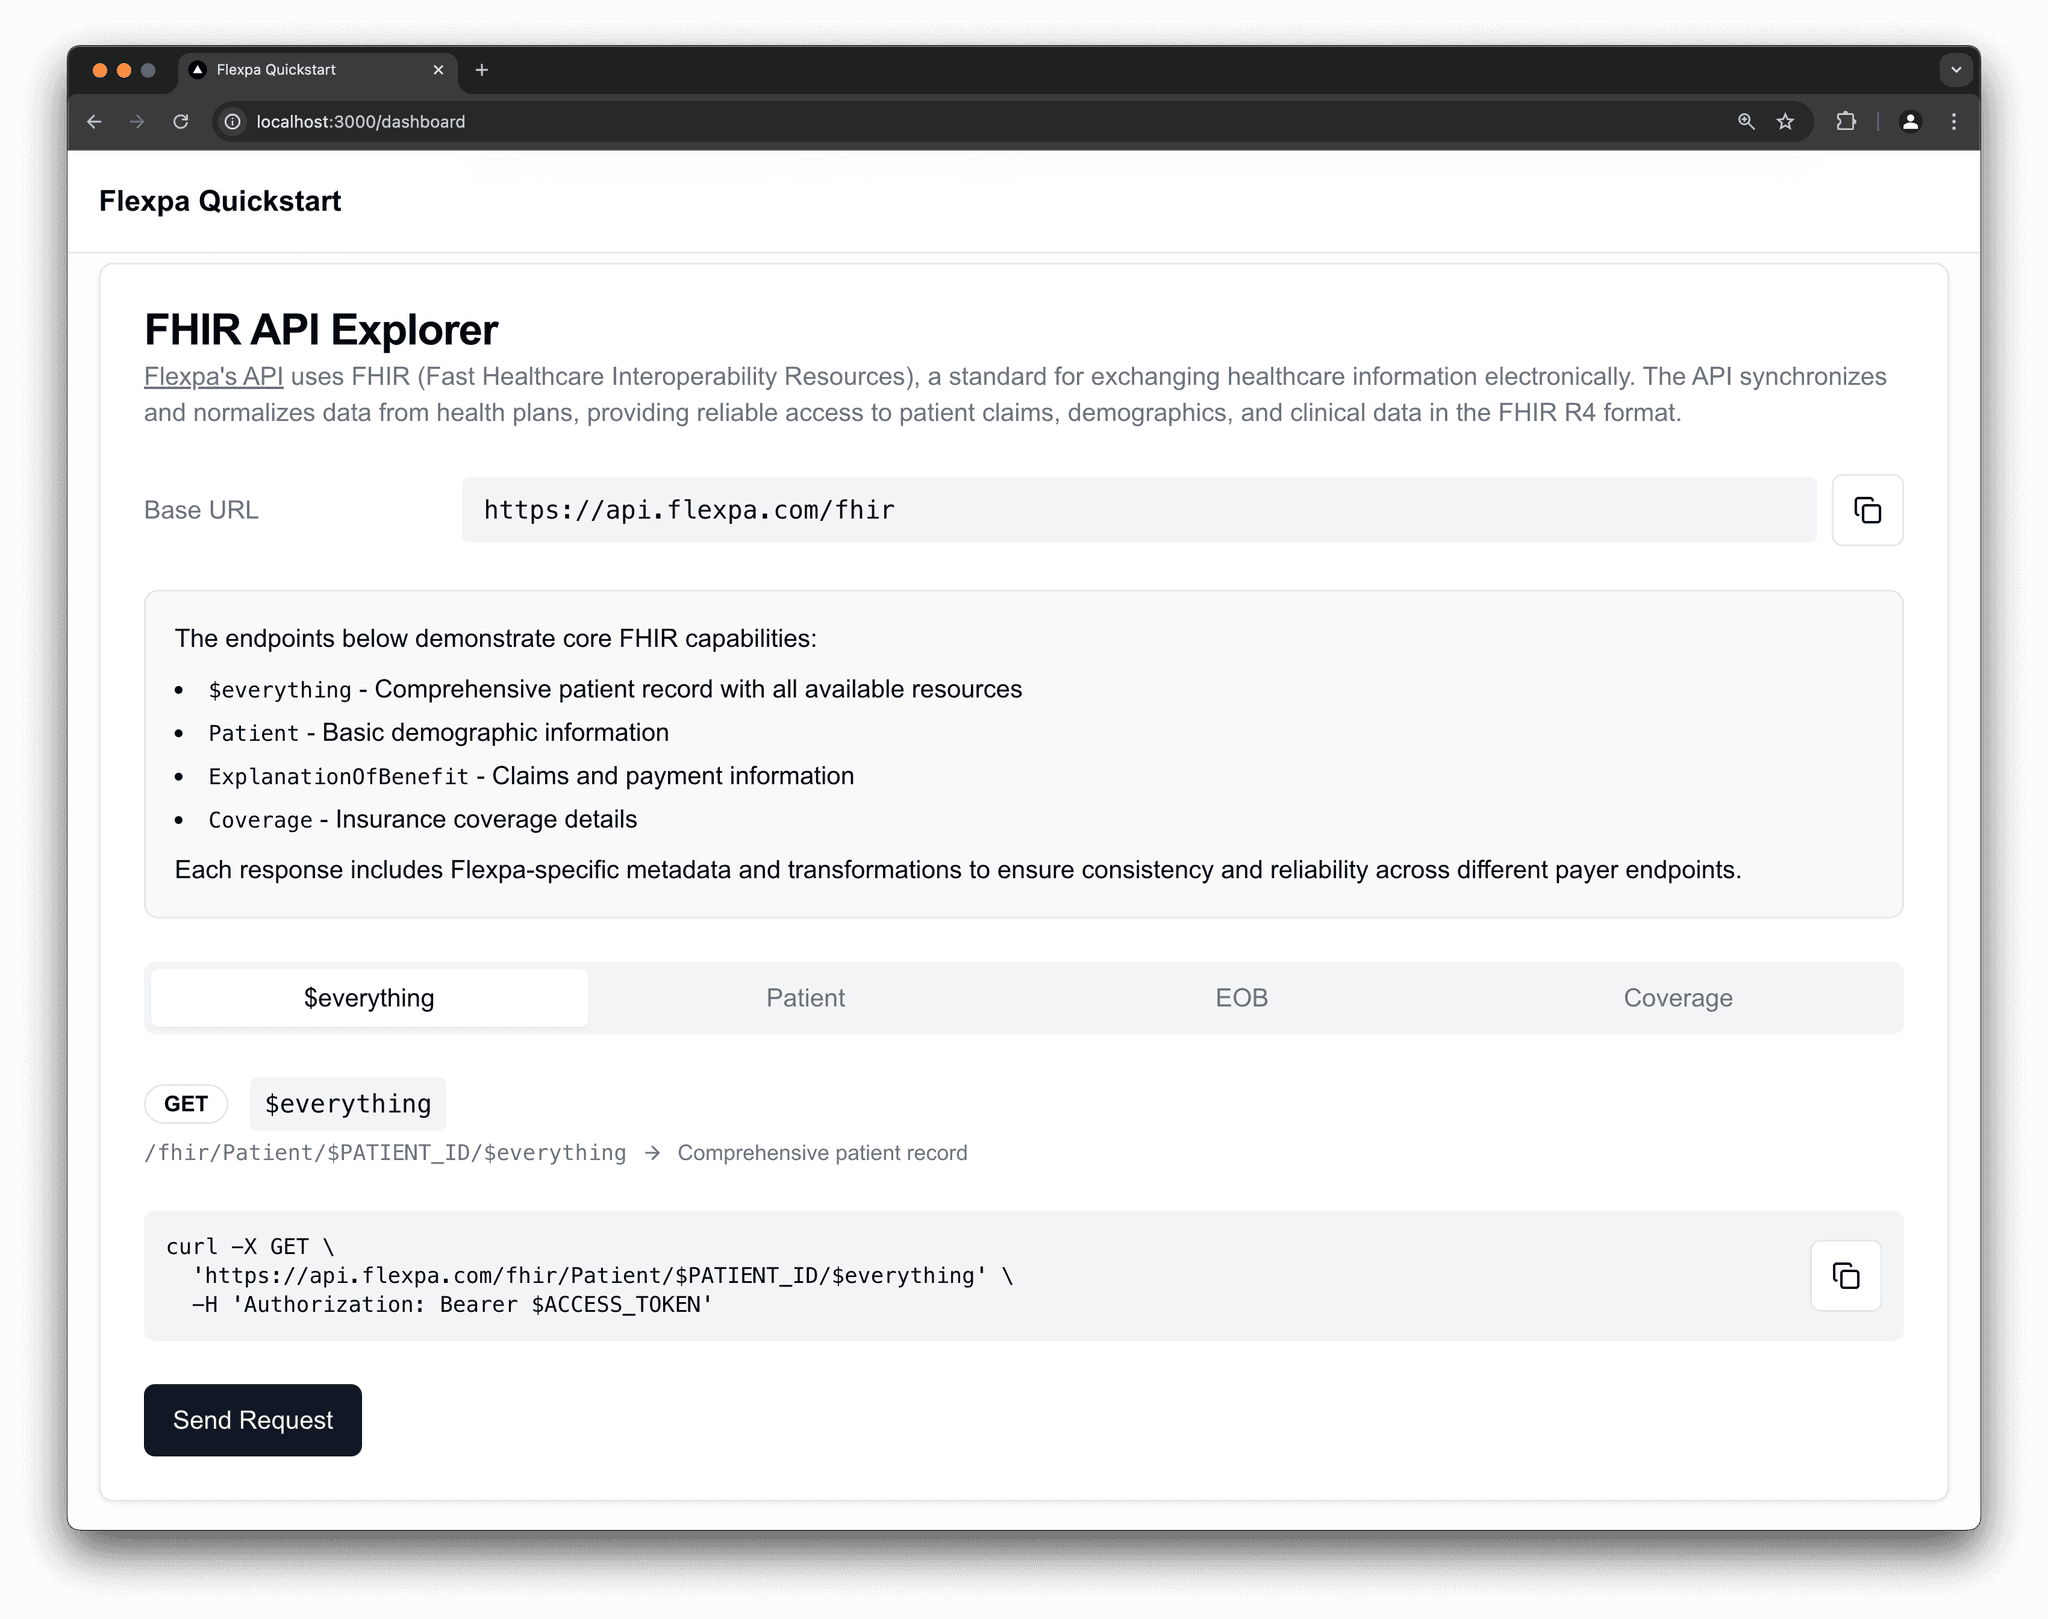
As an example, let's take a look at some of the requests made on the dashboard at http://localhost:3000/dashboard.
The first request, $everything, is to /fhir/Patient/$PATIENT_ID/$everything - which retrieves all of the available data for a patient.
The request uses the access_token like all consented records requests.
In this code we see how the Quickstart makes this call using Node SDK but you can make it with any HTTP client:
src/app/api/fhir/Patient/$everything/route.tsts
import { NextResponse } from 'next/server'
import FlexpaClient from '@flexpa/node-sdk'
import { getSession } from '@/app/lib/session';

export async function GET() {
  const session = await getSession();

  if (!session?.accessToken) {
    return NextResponse.json(
      { error: 'Unauthorized' },
      { status: 401 }
    )
  }

  const client = FlexpaClient.fromBearerToken(session.accessToken);
  const everything = await client.$everything();

  return NextResponse.json(everything)
}
Flexpa API supports reading and searching a variety of FHIR Resources. The Quickstart demonstrates a few common requests:
When making FHIR API requests, you may encounter 429 status codes while Flexpa syncs data from the payer. This happens during the initial sync period, which typically lasts less than 1 minute. You will need to implement retry logic to handle these errors, unless you are using the Node SDK which handles retries automatically.

#Getting actionable data
The FHIR responses above contain rich healthcare data, but they're deeply nested and complex to parse. For most applications, you want specific fields—not raw FHIR structures.
The ViewDefinition/$run endpoint lets you define exactly what data you need and receive it as simple rows and columns. No FHIR parsing required.
Here's an example that extracts a summary from ExplanationOfBenefit resources (claims data):
src/app/api/fhir/claims-summary/route.ts
import { NextResponse } from 'next/server'
import { getSession } from '@/app/lib/session';

const claimsView = {
  resourceType: 'ViewDefinition',
  name: 'claims_summary',
  status: 'active',
  resource: 'ExplanationOfBenefit',
  select: [{
    column: [
      { name: 'claim_id', path: 'id' },
      { name: 'type', path: "type.coding.where(system='http://terminology.hl7.org/CodeSystem/claim-type').code.first()" },
      { name: 'service_date', path: 'billablePeriod.start' },
      { name: 'provider', path: 'provider.display' },
      { name: 'total_billed', path: "total.where(category.coding.code='submitted').amount.value.first()" },
      { name: 'you_paid', path: "total.where(category.coding.code='memberliability').amount.value.first()" },
      { name: 'diagnosis_codes', path: 'diagnosis.diagnosisCodeableConcept.coding.code.distinct()', collection: true },
    ]
  }]
};

export async function GET() {
  const session = await getSession();
  if (!session?.accessToken) {
    return NextResponse.json({ error: 'Unauthorized' }, { status: 401 })
  }

  const response = await fetch('https://api.flexpa.com/fhir/ViewDefinition/$run', {
    method: 'POST',
    headers: {
      'Authorization': `Bearer ${session.accessToken}`,
      'Content-Type': 'application/json',
    },
    body: JSON.stringify({
      resourceType: 'Parameters',
      parameter: [{ name: 'viewResource', resource: claimsView }]
    })
  });

  return NextResponse.json(await response.json());
}
Instead of parsing nested FHIR structures, you get clean, flat data:
Response
{
  "rows": [
    {
      "claim_id": "eob-12345",
      "type": "professional",
      "service_date": "2024-03-15",
      "provider": "Dr. Sarah Chen",
      "total_billed": 250.00,
      "you_paid": 35.00,
      "diagnosis_codes": ["Z00.00", "J06.9"]
    }
  ],
  "resourceCount": 1
}
Need help building ViewDefinitions? We're FHIR experts. Tell us what data your application needs, and we can help you craft a ViewDefinition that extracts exactly that. Reach out to your Flexpa contact or our support team.
Learn more about ViewDefinitions in our parsing guide or see the API reference.
#Next steps
Want to see an example of how to integrate Flexpa into an existing application? Check out our integration tutorial!
Congratulations, you have completed the Flexpa Quickstart!
There are a few directions you can go in now: